A Step by Step Guide to Converting Master Coils into Precision Strips
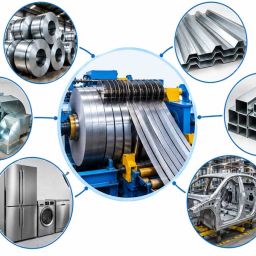
The slitting line process is one of the most important operations in metal processing. It converts wide master coils, produced by rolling mills, into multiple narrower coils that match the exact width requirements of downstream manufacturers. Automotive component makers, tube and pipe mills, appliance producers, construction suppliers, and steel service centers all rely on slit strip as a primary raw material.
Although the principle appears simple, achieving consistent strip width, clean edges, flat profile, and tightly wound coils requires a carefully controlled sequence of operations. This article describes each stage of the slitting line process, explains the factors that influence quality, and offers practical guidance for improving efficiency and reducing material loss.
What Is the Slitting Line Process?
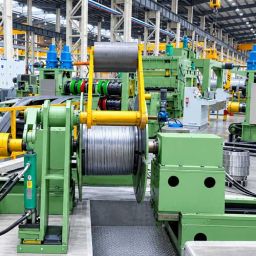
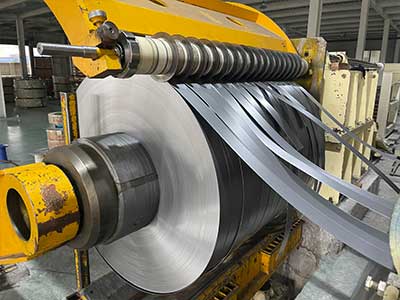
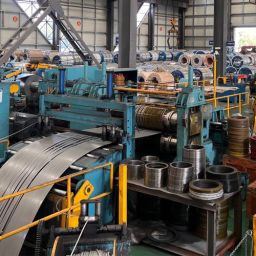
The slitting line process is a continuous, longitudinal cutting operation. A master coil is unwound, guided through a set of rotary shear knives that cut the material into several strips, and then rewound into finished coils. Because the cutting is performed by circular knives mounted on parallel arbors, the process is fast, accurate, and suitable for a wide range of materials and thicknesses.
Materials Commonly Processed
- Cold rolled steel
- Hot rolled steel
- Galvanized and galvalume steel
- Pre painted and coated steel
- Stainless steel
- Aluminum, copper, and other non-ferrous metals
- Electrical (silicon) steel
Step 1: Coil Preparation and Loading
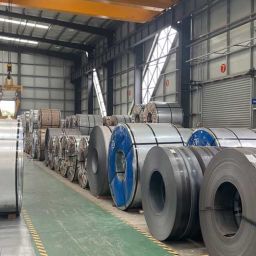
The process begins before the coil reaches the line. Incoming coils should be inspected for surface damage, edge defects, telescoping, and correct identification. Operators confirm the coil’s thickness, width, weight, grade, and inner diameter against the production order.
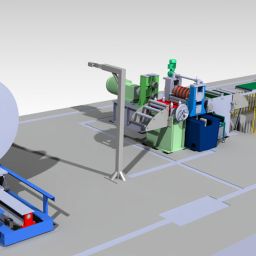
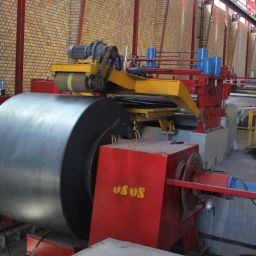
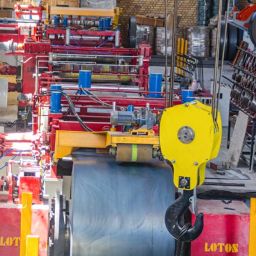
A hydraulic coil car then lifts the coil from the storage position and moves it onto the uncoiler mandrel. Accurate alignment at this stage reduces strip wander later in the line and helps protect the coil edges from damage.
Step 2: Uncoiling
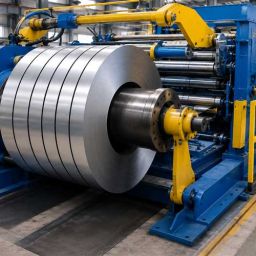
The uncoiler holds the coil on an expanding mandrel and unwinds it at a controlled rate. A hold down arm or peeler restrains the outer wraps and assists with threading the head end.
Key requirements at this stage include:
- Stable mandrel expansion to grip the coil inner diameter securely
- Smooth, adjustable drive to prevent sudden strip movement
- Accurate side positioning to keep the strip centered on the line
Step 3: Straightening, Pinch Rolling, and Threading
Coils carry residual curvature, known as coil set. Before cutting, the strip passes through a pinch roll and, where required, a straightener or leveler to flatten the material and guide it into the slitter. A threading table with adjustable side guides supports the head end as it is fed through the line.
Proper straightening improves slit width consistency and helps reduce camber, the sideways bow that can appear after cutting.
Step 4: Slitting
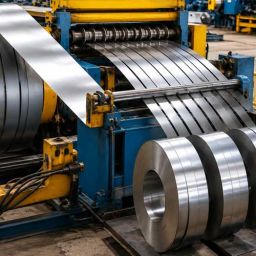
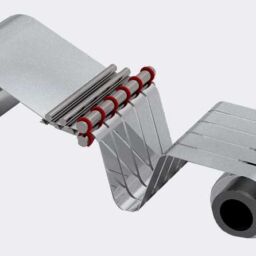
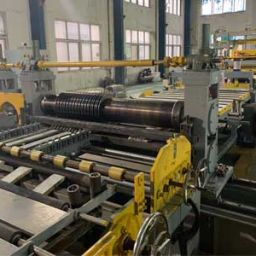
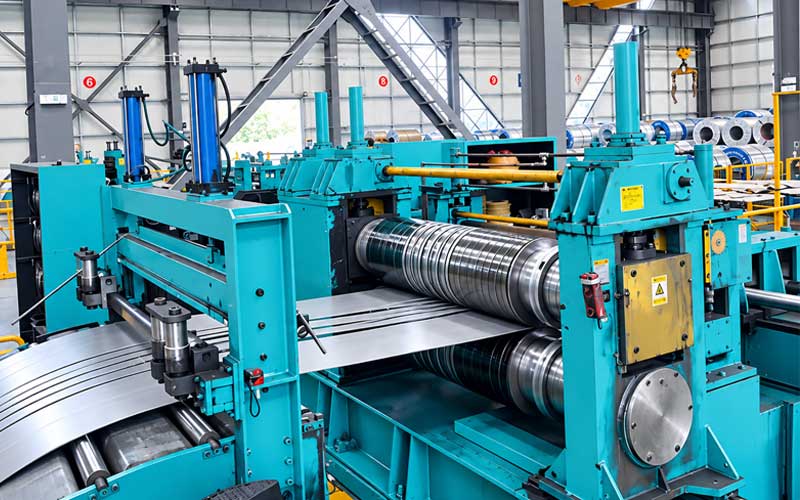
Slitting is the central step of the entire process. The strip passes between two arbors fitted with circular knives and spacers. The upper and lower knives overlap slightly, shearing the material along its length. The spacing between knives determines the width of each strip.
Important Slitting Parameters
- Knife clearance: The gap between the upper and lower knife edges, generally set as a percentage of material thickness. Incorrect clearance produces burrs, rough edges, or excessive knife wear.
- Knife overlap: The vertical depth by which the knives overlap. This must be adjusted for the material’s thickness and hardness.
- Knife and spacer accuracy: Precise tooling dimensions are essential to maintain tight width tolerances.
- Rubber stripper rings: Fitted between knives to guide the strip away from the cutting zone and prevent material from wrapping around the arbor.
- Line speed: Faster speeds increase productivity but must be balanced against edge quality and tool life.
Setup of the Slitting Head
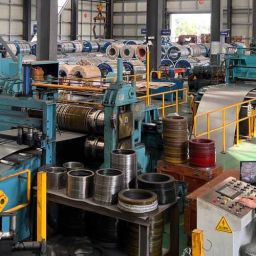
Slitter setup involves arranging knives and spacers on the arbors according to the cutting plan. Modern lines use motorized arbor positioning or fully automatic setup systems, which substantially reduce changeover time and improve repeatability.
Step 5: Edge Trim and Scrap Handling
The outer edges of the master coil are often trimmed to achieve the target width and remove uneven or damaged edges. This trim must be removed continuously. Two systems are common:
- Scrap winder: Coils the trim into a roll for disposal or reuse.
- Scrap chopper: Cuts the trim into short pieces and discharges them into a collection bin.
Effective scrap handling keeps the line running smoothly and maintains a safe working area.
Step 6: Looping
After slitting, the strips pass through a loop pit or loop bridge. The loop acts as a buffer between the slitter section and the recoiler section. It absorbs small speed differences, protects the strip surface, and allows each part of the line to operate with stable tension.
Step 7: Tension Control and Strip Separation
Before recoiling, the strips pass through a tension station. A separator, often with a set of discs and pads, divides the strips and applies controlled back tension. Correct tension is critical because it determines how tightly and evenly the coil winds.
- Too little tension: Loose coils, telescoping, and uneven edges.
- Too much tension: Strip stretching, surface marks, or coil deformation.
Step 8: Recoiling
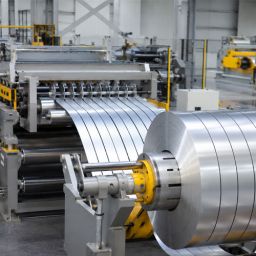
The recoiler winds each slit strip into a finished coil. A separator arm with discs keeps the strips apart and aligned as they wind. Smooth speed control and consistent tension produce coils with neat, flush edges.
Where the strips have different widths, the recoiler’s separator and tension system must be configured to ensure that every coil winds correctly.
Step 9: Coil Unloading, Strapping, and Packaging
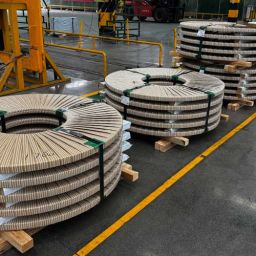
When winding is complete, the finished coils are removed by a coil car or a pusher system. The coils are then strapped, weighed, labeled, and packaged for storage or shipment. Automatic strapping and unloading equipment improve safety, reduce handling time, and protect the coil from damage.
Factors That Influence Slitting Quality
Several variables determine the quality of the final strip:
- Knife condition: Worn or chipped knives produce burrs and poor edge finish.
- Knife clearance and overlap: Settings must match the material’s thickness and mechanical properties.
- Material properties: Hardness, yield strength, and surface coating all affect cutting behavior.
- Tension stability: Fluctuating tension leads to telescoped coils and uneven winding.
- Machine rigidity and alignment: A rigid frame and aligned components maintain width accuracy.
- Operator skill and procedures: Consistent setup and inspection practices lead to repeatable results.
Improving Efficiency in the Slitting Line Process
Manufacturers can raise productivity and reduce material waste through several practices:
- Optimize cutting plans to minimize edge trim and maximize yield from each master coil.
- Adopt quick-change or automatic knife setup to shorten changeover time.
- Maintain a knife management program that tracks usage, regrinding cycles, and replacement schedules.
- Use automated coil handling to reduce idle time between coils.
- Monitor line data such as speed, tension, and downtime to identify improvement opportunities.
- Train operators to follow standardized setup and inspection procedures.
Safety Considerations
Slitting lines handle heavy coils and sharp, moving components. A safe operation requires:
- Guarding and interlocks on all moving parts
- Emergency stop systems within reach of operators
- Safe coil handling and lifting procedures
- Protective equipment for personnel
- Regular inspection and maintenance of hydraulic, electrical, and mechanical systems
Choosing the Right Slitting Line
Selecting equipment that matches production requirements is essential. Buyers should consider:
- The range of material thickness, width, and coil weight
- The material grades to be processed
- Required slit width tolerances and edge quality
- Target line speed and annual output
- The level of automation needed
- The manufacturer’s engineering experience and after sales service
Why Choose Lotos for Slitting Line Solutions
Lotos designs and manufactures slitting lines configured to each customer’s material range, production targets, and facility layout. Emphasis is placed on structural rigidity, precision tooling, stable tension control, and reliable electrical systems. From technical consultation through installation, commissioning, and after sales support, Lotos works closely with customers to deliver a dependable, high performance slitting solution.
Conclusion
The slitting line process is a precise, multi stage operation in which every step influences the quality of the final strip. From coil loading and uncoiling through slitting, tensioning, and recoiling, each stage must be correctly configured and consistently maintained. By understanding the process and its critical parameters, manufacturers can improve strip quality, increase yield, and reduce operating cost.
FAQ:
Tolerance depends on knife and spacer accuracy, arbor rigidity, knife setup, material properties, and tension control.
Yes. With proper setup and tooling, a slitting line can process steel, stainless steel, aluminum, and coated materials. The line specification should be matched to the thickest and strongest material to be processed.
Stable tension ensures that coils wind tightly and evenly. Poor tension control can cause telescoping, loose wraps, strip stretching, or surface damage.
Burrs are minimized by setting the correct knife clearance and overlap, using sharp, well maintained knives, and selecting the appropriate knife material for the product being cut.