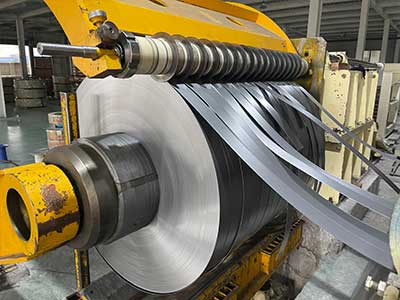
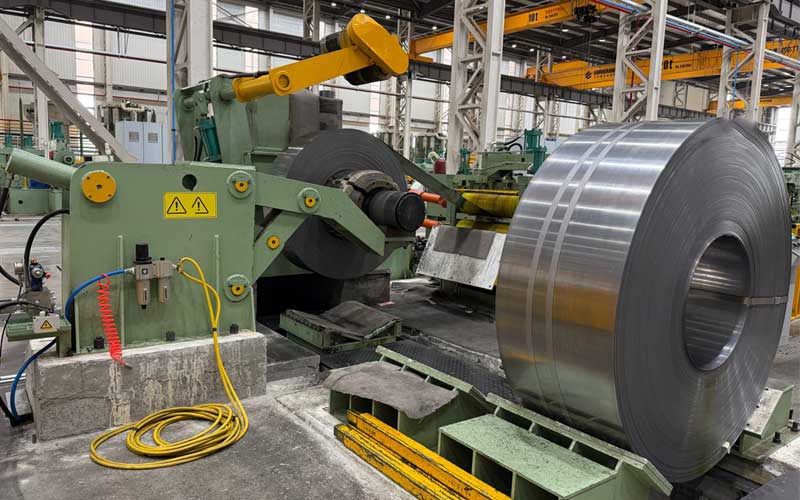
Steel Coil Slitting Process
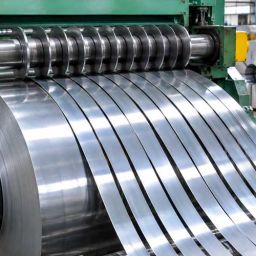
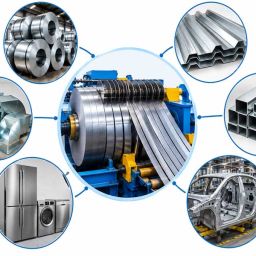
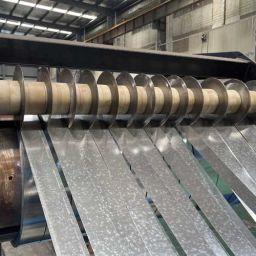
Slitting is the process of longitudinally cutting a wide master coil into multiple narrower strips of a specified width. The quality of the finished strips depends not only on the slitting line itself but also, to a considerable degree, on how thoroughly the coil is prepared before it reaches the uncoiler. Inadequate preparation is one of the most common causes of edge burrs, camber, telescoping, strip width deviation, tooling damage and unplanned downtime.
This article describes the principal steps involved in preparing a steel coil for slitting, from incoming inspection to final line setup. The guidance applies to carbon steel, stainless steel, galvanized steel, pre painted steel and other flat-rolled products processed on a modern coil slitting line.
1. Verify Material Specifications and Documentation
Preparation begins with documentation. Before a coil is moved to the line, the operator or production planner should confirm that the following information matches the production order:
- Material grade and standard (for example, DC01, SPCC, SGCC, AISI 304, S355)
- Coil thickness and tolerance
- Master coil width
- Coil weight, inner diameter (ID) and outer diameter (OD)
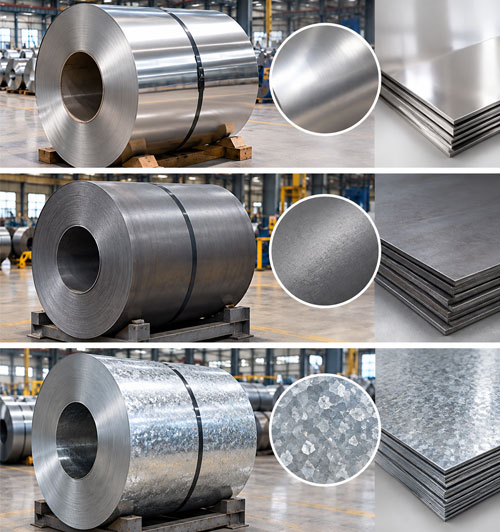
- Surface finish and coating type (pickled, cold rolled, galvanized, pre-painted, etc.)
- Mechanical properties, including yield strength, tensile strength and hardness
Mechanical properties are particularly important because they determine the required blade clearance, overlap, and the tension values applied during slitting. Heat number and coil identification must be recorded to preserve traceability throughout the process.
2. Conduct a Visual Inspection of the Coil
A careful visual inspection should be carried out before the coil is loaded. The inspector should examine the following:
2.1 Edge Condition
Check the coil edges for cracks, waviness, burrs, or damage resulting from transportation. Severely damaged edges may need to be trimmed during the first pass.
2.2 Coil Shape and Roundness
Coils that are out of round, telescoped or dented on the outer wraps may feed unevenly and require additional handling. Damaged outer wraps should be removed to avoid surface defects on the finished strips.
2.3 Surface Quality
Look for rust, scratches, oil staining, scale, coating damage or other surface imperfections. Surface defects present on the master coil will be carried into every slit strip.
2.4 Strapping and Packaging
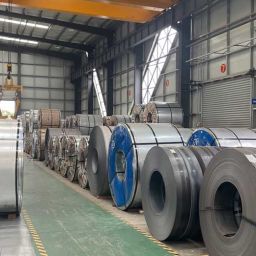
Confirm that the straps are intact and that the packaging has not been compromised. Moisture ingress during storage can lead to corrosion between wraps.
3. Measure Thickness and Width Consistency
Dimensional variation across the coil affects strip width accuracy and blade clearance. Thickness should be measured at multiple points across the width and along the coil length using a calibrated micrometer or an inline gauge.
Key points to consider:
- Thickness variation should remain within the agreed tolerance.
- Significant thickness variation across the width can cause uneven blade clearance and inconsistent burr height.
- Coil width should be measured to calculate the exact slitting layout and to determine edge trim allowance.
4. Plan the Slitting Layout
Once the coil has been verified, the slitting plan should be prepared. The plan defines:
- The number of strips and the width of each strip
- Edge trim width on both sides
- Total material utilization and expected scrap percentage
- Strip sequence and recoil arrangement
An efficient layout minimizes scrap while keeping tolerance and edge trim requirements. The sum of the strip widths and edge trims must not exceed the master coil width. Where possible, orders should be grouped to avoid unnecessary tooling changes.
5. Select and Prepare the Slitter Tooling
Correct tooling preparation is essential to cut quality. Preparing the knife arbors involves several tasks.
5.1 Blade Selection
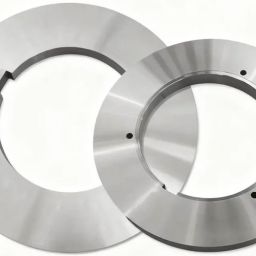
Slitter blades should be selected according to material type, thickness and hardness. Tool steels, high-speed steels and carbide-tipped blades each have specific areas of application. Thicker or harder material typically demands more wear-resistant blades.
5.2 Blade Inspection
All circular knives and spacers must be checked for chipping, wear, flatness and parallelism. Damaged knives should be reground or replaced.
5.4 Arbor Assembly
Spacers and knives should be assembled in accordance with the slitting plan. Spacer thickness should be measured with precision, and the arbor nut must be tightened to the correct torque to prevent lateral movement of the knives during operation. Rubber or polyurethane stripper rings should be selected to suit the strip width and material thickness.
6. Prepare the Coil Handling Equipment
Proper handling prevents damage to the coil and ensures a stable start-up.
- Coil car and lifting equipment: Inspect the crane, C-hook or coil car for wear and confirm capacity.
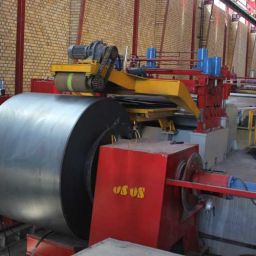
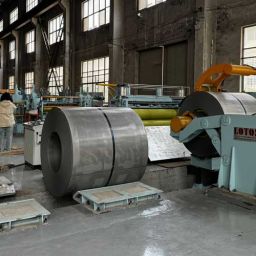
- Uncoiler mandrel: Verify that the mandrel diameter and expansion range match the coil ID. Check alignment and condition of the hold-down arm.
- Coil positioning: Center the coil on the mandrel so that its edges align with the line centerline. Incorrect positioning is a common cause of strip wandering and edge damage.
- Strapping removal: Remove straps in a controlled manner, using the hold-down arm or a pinch roll to prevent the coil from springing open.
7. Thread the Strip and Set Tension
After the coil is mounted and the straps removed, the head end must be prepared and threaded through the line.
- Head end preparation: If the leading end is damaged, bent or irregular, cut it square before threading.
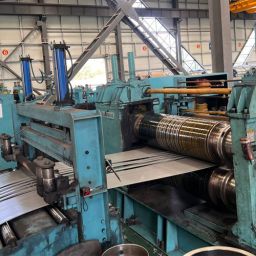
- Threading: Guide the strip through the entry guides, pinch rolls, leveler (if used), looping pit and slitter head carefully, keeping the strip centered.
- Separator and tension unit: Pass the slit strips through the separator and the tension station. Correct tension is essential for tight, well-formed recoils. Excessive tension may stretch thin material, while insufficient tension results in loose coils and telescoping.
8. Perform a Trial Run and Quality Check
Before starting full production, a short trial run at low speed should be performed. During the trial, the operator should check:
- Strip width at several positions using calipers or a width gauge
- Burr height on both edges, ideally measured with a micrometer or microscope
- Edge quality, including rollover, fracture zone and burnish proportion
- Camber and strip straightness
- Recoil appearance, including edge alignment and absence of telescoping
If deviations are detected, clearance, overlap, tension or alignment should be adjusted before proceeding. Recording the final settings for each material and thickness helps reduce setup time for repeat orders.
9. Observe Safety and Housekeeping Requirements
Slitting lines handle heavy coils and sharp strip edges. Adequate safety practices should always be maintained, including:
- Use of cut-resistant gloves, safety footwear, eye protection and hearing protection
- Strict adherence to lock-out/tag-out procedures during tooling changes
- Proper operation of guards, light curtains and emergency stops
- Safe handling of scrap, edge trim and recoiled strips
- Regular lubrication and maintenance of the line
A clean and organized work area also contributes to product quality by preventing contamination and surface damage.
Common Mistakes to Avoid
- Skipping incoming coil inspection
- Using worn or incorrectly ground slitter knives
- Setting clearance based on thickness alone, without regard to material grade
- Poor coil centering on the uncoiler
- Applying incorrect tension for the material gauge
- Failing to record setup parameters for repeat jobs
Conclusion
Preparing a steel coil for slitting is a systematic process that extends well beyond loading the coil onto the uncoiler. Careful verification of specifications, thorough inspection, accurate layout planning, correct tooling preparation and controlled threading and tension settings together determine strip quality, material yield and line productivity. By adopting a disciplined preparation procedure, manufacturers can reduce scrap, extend tooling life and deliver consistent, high quality slit strips to their customers.
For slitting lines, tooling and engineering support, LotosSlitting provides solutions designed for precision, reliability and long-term performance. Contact our team to discuss your coil processing requirements.
FAQ :
Tension should be adjusted according to material thickness, strip width and mechanical properties. Excessive tension may stretch or deform thin material, while insufficient tension can lead to loose recoils and telescoping. Settings should be confirmed during a low-speed trial run and recorded for repeat orders.
A trial run allows the operator to verify strip width, burr height, edge quality, camber and recoil appearance before committing the entire coil. Any deviations can then be corrected by adjusting blade clearance, overlap, alignment or tension, which reduces scrap and rework.
Edge trim is the narrow strip removed from both sides of the master coil. It eliminates damaged or irregular edges and allows the remaining strips to meet width and edge quality requirements. The trim width should be planned in advance and included in the slitting layout calculation.
Correct centering aligns the coil with the line centerline. A coil that is off-center can cause strip wandering, edge damage, uneven feeding and inaccurate strip widths. The mandrel diameter, expansion range and hold-down arm should also be checked before loading.